


Normally the part of the CN type decoder with the most components goes on the end of the frame that is the forward, or short hood end. With the Atlas Classic RS1 this would require removal of some material from the frame however the decoder boards will fit perfectly if their positions are reversed.

The photo at left shows a top view of the standard layout to help understand how the decoder defines forward and reverse. When we swap the position of these boards it's like reversing the red and black wires of a wired decoder.
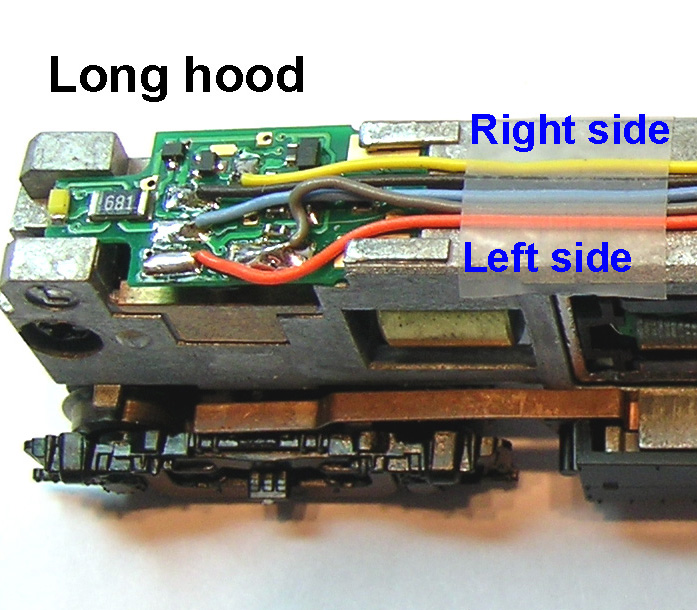
Follow all of the steps in the RS3 installation except that the main decoder board will be at the long hood end.
Connect the orange and gray motor wires as shown in this photo which will be reversed from what they normally are.
At this point when you test run this engine, it should run backwards on DCC but in the correct direction on DC.
To correct the DCC direction program the decoder for long hood forward. This is done by entering 07 at CV 29 for 2 digit addressing or 27 at CV 29 for 4 digit addressing.
 This photo shows an overhead view with the decoder boards installed. After programming CV29 to compensate for the main decoder board being on the long hood end, the engine should run in the correct direction in both DC and DCC modes.
If you are modeling one of the railroads that considered the long hood of the engine to be the forward end, then skip the reversal of the motor leads and the reprogramming of CV29.
No comments:
Post a Comment